
When I was first thinking about what I could make for this weeks video tutorial I really wanted to create something pretty and delicate, so I thought I would show you how I made these pretty, pastel pink, ballet slipper cake toppers. I think that a ballerina theme cake is so pretty for a small child. Personally the ballet theme transports me back to my childhood, learning all the dance steps in my ballet class. These ballet shoes are relatively easy to make and consist of only 3 main pieces with a little bit of additional detail to add the trim and ribbons.
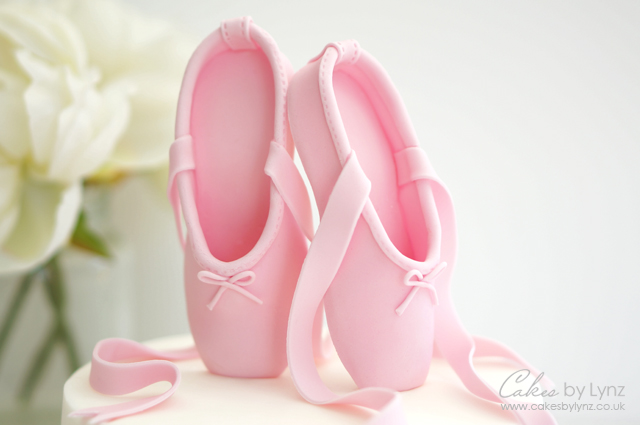
The ballet slippers are 4.5 inches in length and fit perfectly onto the top of my 6 inch round cake with thin gumpaste ribbons falling down the side. One of my favourite parts of the slippers is actually the back. If you are having the slippers standing on the cake as I have, I think its really lovely to make the ballet slippers look pretty from all angles, so I set about trying to make the back as realistic as possible.
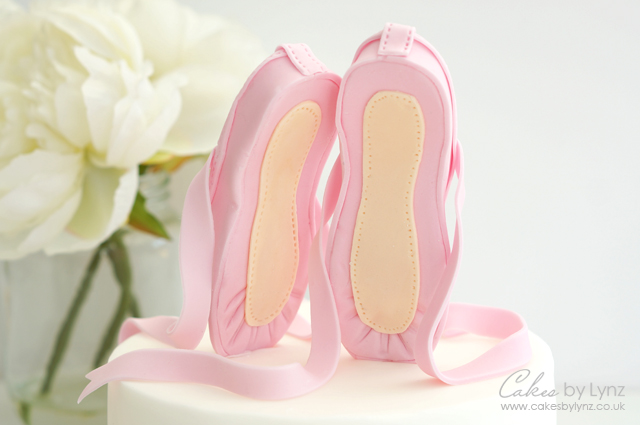
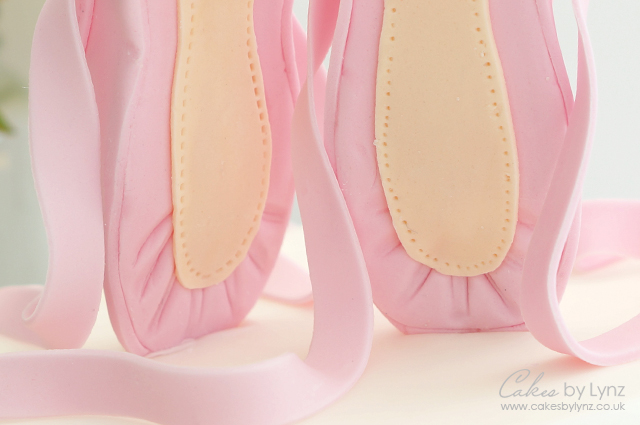
As you will see in the video tutorial, using my curved modelling tool I pushed indents into the top section of the underside of the sole, to resemble the ruched leather on the bottom of the toe. One the real slippers this material is pulled in and covered with a lighter piece of leather in the center allowing for grip on the dance floor. I was really pleased with how this turned out and think it really brought the shoes to life from all angles.
The template
In order to create the shoes I used 3 different templates to form the sole, bottom and top of the shoe. I originally found a great template which had been shared onto a cakescentral forum and modified the shape and size slightly to allow me to create the shoe I was looking for. I then created an additional template for the bottom part of the shoe.
YOU CAN DOWNLOAD THE EXACT TEMPLATE THAT I USED HERE
It can then be made larger or smaller depending on the size of the cake you are adding them too.
I really hope you enjoy this video tutorial and find it helpful if you are looking to make your own ballet slippers, to add onto your own cakes.
Tools I used
I have also put a link below to the rest of the tools I used throughout this video:
Renshaw modelling paste (Gumpaste): http://amzn.to/2Gj7E1Y
Sugarflair Petal Dusts (Apple Green): http://amzn.to/2D72sQI
Modelling tools: http://amzn.to/2iU4CuQ
Edible glue: http://amzn.to/2iYkZXm
Rolling Pin: http://amzn.to/2lkPtA1
~ Please note that some of links above may be affiliate links. If you click the link and purchase any item through that link, I will receive a small commission from the website but this does NOT add any additional costs to you. Thank you so much for supporting this blog x ~
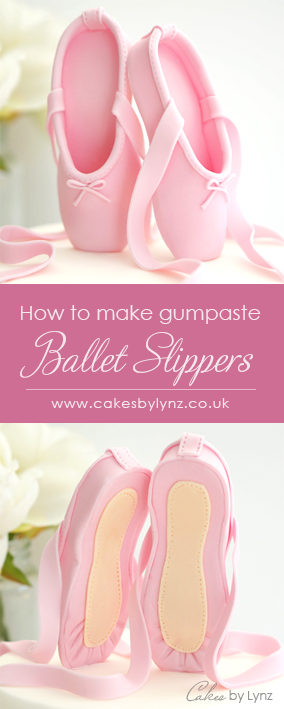
Plus why not save this tutorial for later and pin it to Pinterest


24 Responses
can’t find a way to pin to pinterest
Hi Julie, if you roll over the image an icon should appear in the corner allowing you to pin to pinterest.
Beautiful and so cute. Perfect for a little girls birthday cake. Thank You Lynsey for sharing.
Those ballet slipper were just beautiful, any little ballerina would live it!
Lover them, I meant
Love them, I meant I’ll get it right!
Love your turorials
Thank you for sharing. I have an order for ballet shoes on a birthday cake and I had no idea where to get, or make, patterns for the shoes. Thank God for the Internet and very generous people like you!
Hi Carol, I am so glad the tutorial will come in useful for you.
Thank you for such a great tutorial! Because of it, I was able to make a ballerina cake for a customer, she loved it!
These are amazing. Great video!! Can you tell me if I can make ahead and freeze them?
I wanted to make them today to cut out work next weekend on a cake I’m making. Thanks
Natasha
Hi Natasha, Thank you for your message. I am so glad you like the ballet slippers. If you make them out of fondant or gumpaste there is no need to freeze them. It is fine to make them ahead of time. Once you have made them you can leave them out at room temperature and they will set harder. You can then add them to your cake when you are ready. Once you add them to your cake I would then add the ribbons on the slippers using your fondant or gumpaste so it drapes over the cake. I hope this helps. Lynz
How long did you let them dry?
Thank you so much for your wonderful video. These adorable slippers were the first thing I have ever attempted with fondant (mixed with some tylose) and they came out perfect. Your template and your teaching skills made are awesome. Thank you so much. I am on here today because I am going to browse your page and find something else to make. I am totally hooked!
Great tutorial thank you
Thank you so much Brenda, I am so glad you like it x
Hi thank you for this awesome tutorial, I love it!
One thing though, I can’t download your templates
Thanks for the tutorial! It was a huge help and my customer loved the cake!
This was a great tutorial but can you tell me how long did you have to let the shoes dry before putting the ribbon on. So could I make the shoes a couple of days ahead and then add the ribbon on when finishing the cake
Hi Alyssa, Thank you. Because I used gumpaste it took a few hours to dry, but I would definitely recommend leaving them overnight to firm up, so they keep their shape.
Thanks so much for sharing this wonderful tutorial. Amazing
Hi Kirsty, I am so glad you liked it. Thank you
Great video thank you and will be trying for my daughters cake this month. I would have also liked to include a tap shoe on there too but struggling to know where to start. Any suggestions welcome!
You are so talented ! I am going to try to make these for my granddaughters birthday cake.