
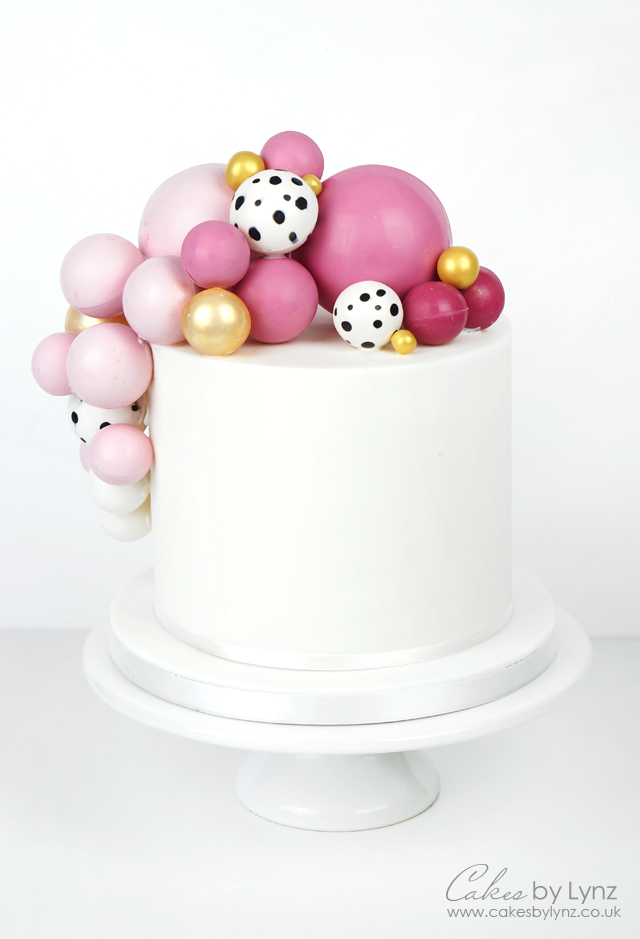
Welcome back to this weeks video tutorial. This week I am sharing with you how to make these really fun chocolate balls or chocolate spheres to decorate your cakes. These are so fun and can be made to look like little balls or why not make them look like fun balloons. For this cake I wanted the balls to look like a balloon garland going across one side of the cake going from light to dark and with a mix of different shades of pink, some shimmery gold ones and of course some polka dot ones.
I was so excited to add the polka dots ones into this video as this design was so popular in the geometric heart video and the technique also works perfectly for these too.
For the chocolate balls I used bright white candy melts and coloured them with the Colour Mill oil based colours which I got from The Cake Decorating Company. You could also used pre-coloured candy melts or tempered chocolate depending on the style of cake you are looking to create. There are so many possibilities with these chocolate balls and they really do look so fun on the top of your cake.
Adding some sprinkles
For this cake I used 3 different sized silicone moulds which I purchased from Amazon. The first was a larger mould which gave a finished ball with a 7cm diameter. There was then a 3.8cm ball and a smaller 3cm ball.
To compliment these I also added some of the Happy Sprinkles Gold Chocolate Crunch Sprinkles in XXL and M. The Choco Crunch balls come in so many colours and sizes, and if you want to add them to your cakes Happy Sprinkles have kindly given me a 10% off discount code for me to share with you.
To receive 10% off Happy Sprinkles all you need to do is visit their website www.happysprinkles.de or The Cake Decorating Company and enter the code HAPPYLYNZ10 at the checkout! (This code can not be combined with any other discounts)

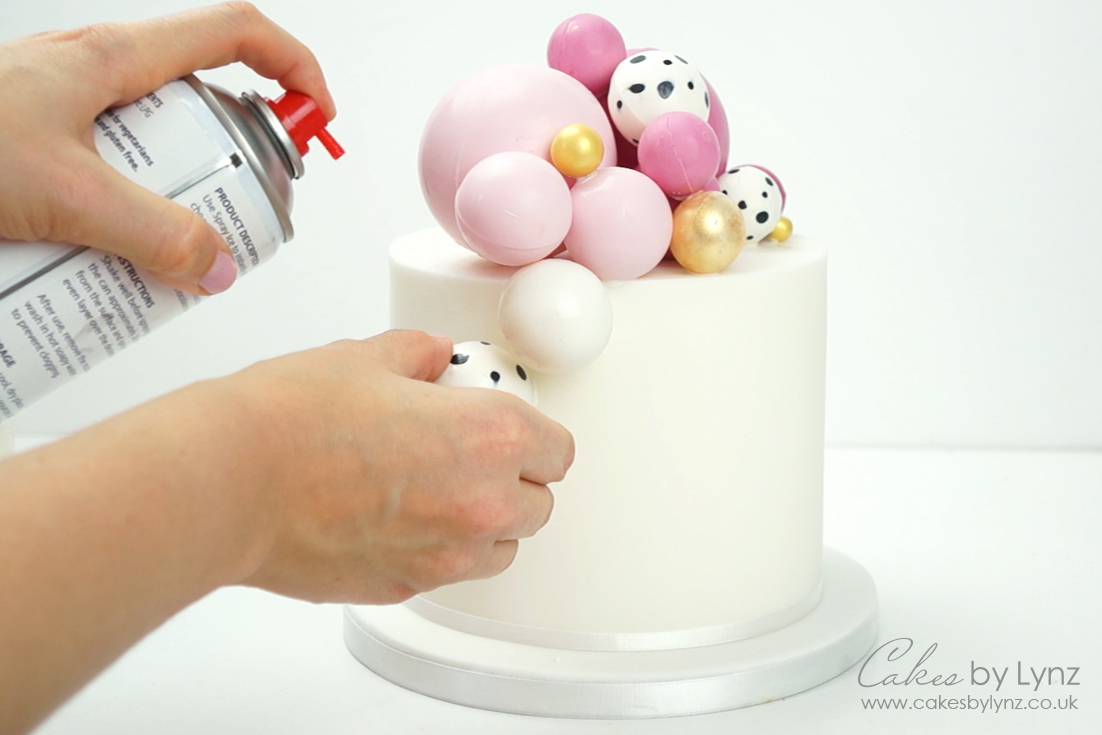
Getting the chocolate balls to stick to your cake
When creating the balls you want to make them as light as possible so there is not alot of weight being added onto the top of the cake. We also need them to be light so they can be piled ontop of each other. When adding the balls to the cake I used some of my white candy melts on the bottom, but instead of holding them in place until that chocolate had set I used a can of Spray Ice. This one I got from The Cake Decorating Company and it worked amazingly well. It is food grade, and you just spray it on and it sets the chocolate or candy melts instantly enabling you to stack them ontop of each other and even glue them to the side of your cake. Just be careful with the gold lustre dust balls as it can take off some of the lustre dust which I had to retouch at the end.
I really hope you will find this tutorial useful and enjoy making your own chocolate balls to add onto your cakes. If you haven’t already you can subscribe to my YouTube channel for more Free cake decorating video tutorials.
Tools I used
I have put a list below showing all the tools that I used throughout this video or if you would like to see all my favourite cake decorating tools just click here: https://www.amazon.co.uk/shop/cakesbylynz
Semi Sphere Moulds (set of 3): https://amzn.to/2RUFBxT or https://amzn.to/3pJVqWP (similar)
PME candy melts: https://amzn.to/2QcvTpF
Fun Cakes deco melts: https://amzn.to/3gjj9be
Choctastique Spray Ice: https://tidd.ly/3f9rwIS
Offset spatula (small): https://amzn.to/2yD7btn
Colour Mill Rose: https://tidd.ly/2V2T8sj
Colour Mill Raspberry: https://tidd.ly/2V2T8sj
Colour Mill Black: https://tidd.ly/2V2T8sj
Happy Sprinkles Choco Crunch XXL: https://bit.ly/3kJGLIM
Happy Sprinkles Choco Crunch M: https://bit.ly/2S1tfnm
SweetStamp Brushes: https://bit.ly/2YhZH8I (plus don’t forget you can still get 10% off all Sweet Stamp products on their website sweetstamp.online by entering ‘CAKESBYLYNZ’ at the checkout)
~ Please note that some of links above may be affiliate links. If you click the link and purchase any item through that link, I will receive a small commission from the website but this does NOT add any additional costs to you. Thank you so much for supporting this blog x ~
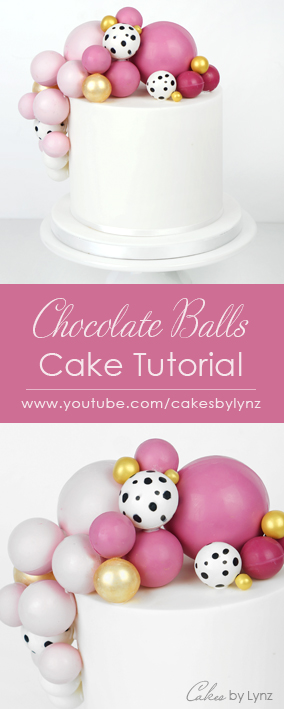
Plus why not save this tutorial for later and pin it to Pinterest


5 Responses
Hi Lynz, awesome tutorial! Thank you for this. Was the cake covered in buttercream or fondant?
Hi Dineo, I’m so glad you enjoyed the tutorial. The cake that I attached the chocolate balls onto was covered in white fondant.
Hiya
I just watched this tutorial on YouTube too and it’s perfect. Thank you.
Could I do this on a cake covered in American/Swiss meringue buttercream?
I wondered how I could stick the balks to the side of the cake.
Hi Sharon, I am so glad you like the tutorial, thank you. I have only tried the balls on a fondant covered cake as I would be worried that the balls would slid off the side of a buttercream cake with the weight.
Brilliant